Configuring a Pipeline for Cirro
Logging In
When you launch the Workflow Configuration App it will first prompt you to log in to Cirro.
- Click on the link provided (e.g.
https://cirro.bio/authorize?user_code=XXXXXXXX)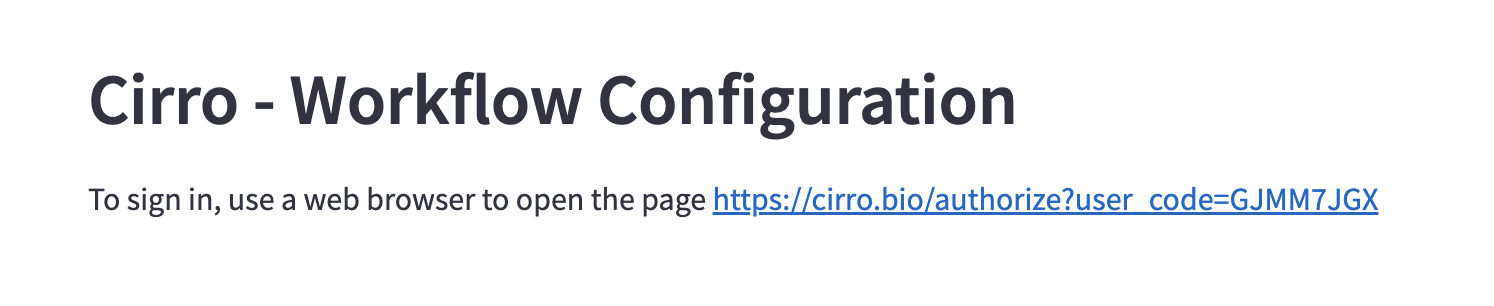
- Select your authentication provider (e.g. Fred Hutch)
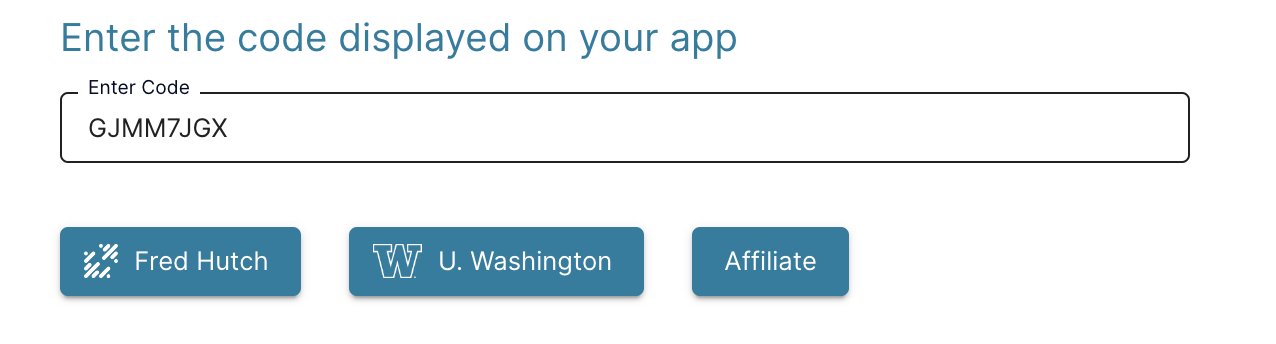
- After logging in, close the tab to return to the Configuration App
Using the Configuration App
The Configuration App consists of four primary tabs:
- Analysis Workflow: Configure the high-level information about the workflow
- Input Parameters: Set up the input parameters which are used to run the workflow on a particular dataset
- Output Files: Specify any output files which can be accessed by the Cirro Dashboard page
- Cirro Configuration: Inspect the configuration files which are produced by the app from the inputs on the other tabs
Modifying an existing configuration:
To edit a set of configuration files which have already been set up, simply open the "Upload Configuration Files" area on the sidebar, then click-and-drag those files into the app. You should see the configuration defined in that set of files populated in the contents of the app.
Analysis Workflow
Workflow ID:
A unique string (containing only lowercase letters and dashes -) which is used to
identify this workflow.
This ID is used internally and will not be presented to the user.
Workflow Name:
The short descriptive name which is used to label the workflow, as well as being used to tag every dataset which is produced as outputs from the workflow.
Workflow Description:
A longer block of text which describes the analysis performed by the pipeline.
Workflow Executor:
Pipelines in Cirro can be executed either using Nextflow or Cromwell (for WDL).
Workflow Repository Path:
The GitHub organization and repository which contains the workflow code.
If you are not familiar with that terminology, for the pipeline nf-core/rnaseq,
nf-core would be the organization and rnaseq would be the repository.
Note: Do not include the
https://github.cominhttps://github.com/nf-core/rnaseq-- justnf-core/rnaseq
Workflow Entrypoint Script:
You must specify the main entrypoint for running the pipeline.
In most cases for Nextflow this is main.nf, but you have the option to fill
in any relative path within the pipeline repository.
Relative Imports in WDL:
When using WDL workflows which are part of a larger codebase (such as GATK), it is common to reference an entrypoint found in a subdirectory (e.g.
scripts/cnv_wdl/somatic/cnv_somatic_panel_workflow.wdl). This behavior should be fully supported in Cirro, such that relative imports (e.g.import "../cnv_common_tasks.wdl) behave as intended.
Repository Branch / Version:
The version of the pipeline to run must be specified either by branch or release.
If you just want to run the main version of the pipeline, select the main branch
(note that older repositories were started with the outdated term master.
For pipelines which are highly locked down, it is a good practice to make a release of the version you want to run, and then reference that specific release in the pipeline configuration.
Public or Private GitHub Repository:
Access control used for the GitHub Repository containing the workflow code - either public or private. To run analysis pipelines from private repositories, make sure to grant private access for Cirro.
Input (Upstream) Processes:
Under "Processes with outputs that can be used as inputs to this workflow", select the processes which provide the type of input data required for this pipeline.
For example, if the pipeline is intended to run on paired-end FASTQ data produced
from WGS sequencing of the human genome, select Paired DNAseq (FASTQ).
In that way, every dataset uploaded with that type will have the option of
being analyzed with the newly added pipeline.
It is also possible to set up a pipeline which analyzes the data produced
as the output from another pipeline.
For example, to set up a pipeline which runs on uBAM files which have
either been uploaded directly or converted from FASTQ inputs, select both
Unaligned BAM and Convert paired FASTQ to uBAM (GATK).
Output (Downstream) Pipelines:
If the outputs of this pipeline can be run by any other pipeline in Cirro, you can select any downstream processes which has already been registered. This can include both custom pipelines as well as the curated set of pipelines which are available across all Cirro projects.
Input Parameters
One of the most useful aspects of the Workflow Configuration app is being able to set up the input parameters which are provided to the workflow. This functionally translates to:
- Setting up elements in
process-form.jsonwhich can render a webform to the user, while also - Specifying which elements should be mapped to input parameters within
process-input.json.
To set up these input parameters, switch to the "Input Parameters" tab of the app and click "Add Parameter".
Parameter ID:
The short string (letters and underscores) key which will identify the value of the parameter to the workflow.
Parameter Types
The "Parameter Type" option allows the user to specify what type of parameter is being configured:
Hardcoded Value:
The workflow will always be provided with the same value for this parameter, and the user will not be prompted to take any action.
When analyzing data using a genome reference file, take advantage of the Standard References provided by Cirro.
Dataset Name:
The value of the parameter will be set by the name which the user selects for the dataset created by the output of the pipeline.
Input Directory:
The value of the parameter will be set to the base path of the input directory which contains all of the files which make up the input dataset.
Output Directory:
The value of the parameter will be set to the base path of the output directory which has been set up by Cirro as the location for the outputs of the pipeline.
Form Entry:
The user will be able to interactively set the value of the parameter by interacting with the web form directly.
Every form entry parameter is set up with a Title and Description, which
are presented to the user in the web form.
Form entry parameters can be set up using a few different overarching types.
Form Entry Types
User-Provided Value:
The user will simply be asked to fill in a variable of a particular type
(e.g. string, boolean, integer, number, array).
An appropriate user input element will be rendered depending on the variable
type which is selected.
Cirro Dataset:
The user will be able to select a dataset of a particular type. The workflow will be provided with the base S3 path which contains all of the files for that dataset.
Input File:
The user will select one or more specific files from within the contents of the input dataset. This is useful for pipelines which do not run on the complete contents of a dataset, but which may want to allow the user to select a subset of files for analysis.
A wildcard glob can optionally be provided for filtering the set of files which are presented as options to the user.
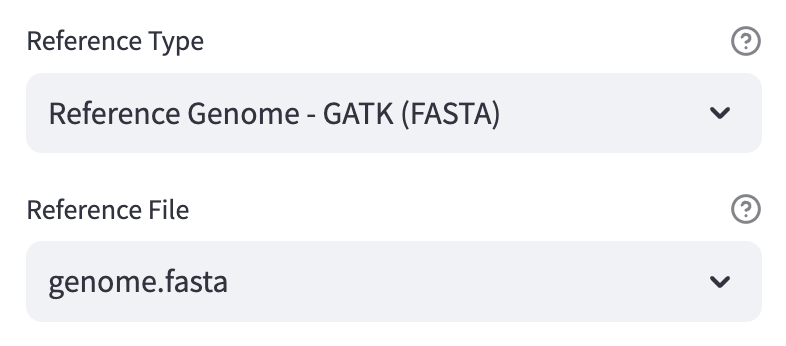
Cirro Reference:
The user will select a Pipeline Reference of a particular type as an input parameter for the workflow.
For reference types which contain multiple files, the pipeline configuration will be set up to provide the full path to one specific file.
Customizing the Form
While the Configuration App does a good job of setting up the syntax of elements which are required to render a web form which gathers information appropriately from the user, it does not support the full set of features which are available to the developer.
The contents of process-form.json are rendered using the React JSON Schema.
The full set of functionality available can be found in the
react-jsonschema-form page.
The vast majority of functionality described on that page can be used
for Cirro pipelines.
To test modifications to the form, simply copy and paste the form
section of process-form.json (omitting the ui element) into
the input box on the
react-jsonschema-form page
page.
Caveat: The Cirro-specific form elements will not render in their final form using this preview tool, and cannot currently be used as dependencies within logic-gated object types.
Expert-Level Note - Customizing the Form JSON
The form and structure of the form can be modified extensively without
any impact on the functionality within Cirro.
For example, the order of input elements in the form has no relation
to the parsing of the user inputs by the website.
However, it is important to keep in mind that nesting of form elements
within larger objects may require an updated reference in the
process-input.json.
For example, the form given by:
{
    "form": {
        "properties": {
            "foo": {"title": "Input Foo", "type": "string"}
        }
    },
    "ui": {}
}
Can be referenced in the process-input.json as:
{
    "foo": "$.params.dataset.paramJson.foo"
}
While the nested element shown by:
{
    "form": {
        "properties": {
            "outer": {
                "type": "object",
                "title": "Grouping of Inputs",
                "properties": {
                    "foo": {"title": "Input Foo", "type": "string"}
                }
            }
        }
    },
    "ui": {}
}
Should be referenced as
{
    "foo": "$.params.dataset.paramJson.outer.foo"
}
Output Files
In addition to running pipelines, Cirro also provides functionality for visualizing data directly via Dashboards (Beta). The only requirement is that the data is written out as comma- or tab-delimited, and that the file contains an initial header row with names for each of the columns.
To set up the output data from a pipeline such that it can be viewed in a Cirro dashboard, add entries on the "Output Files" tab which list:
- The name to display for the information from a particular file
- The relative path of that file within the output directory
- Whether the file is CSV (comma-delimited) or TSV (tab-delimited)
- Names for each for each of the columns (headers) in that file
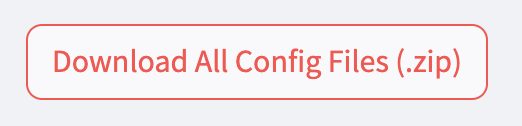
Saving Cirro Configuration
After setting up the workflow configuration using the app, the 6 Cirro pipeline configuration files listed above can be downloaded as a ZIP file by clicking on the "Download all Config Files (.zip)" button on the left sidebar.
Once the files have been saved to a GitHub repository, they can then be used to add the workflow to your Cirro account.
Setting up the Preprocess Script
The preprocess.py file produced by the configuration app is merely a placeholder -- you may
need to customize the preprocess script to launch your workflow in the appropriate way.
One of the most common tasks performed in the preprocess script is to construct a sample sheet (or inputs JSON) listing all of the files from the input dataset.
In addition, the preprocess script can be used to execute any Python code after the user has filled out the analysis form, but before the workflow has started. This gives the workflow developer an opportunity to modify parameters or inputs to the workflow to fulfill any need which is too complex to be fully fulfilled by the form input.
Saving to a GitHub repository
When saving the workflow configuration files to a GitHub repository, we recommend using the
folder .cirro/ at the root of the repository.
If the repository will ultimately contain multiple workflow configurations, use subfolders
to distinguish between them (.cirro/align/, .cirro/genotype/, etc.).
The files can be sourced from any location, but this convention can help with organization.
Next Step
After setting up your workflow configuration files and saving them to a code repository, you are ready to add your workflow to Cirro.