Pipeline Catalog: Flow Cytometry
Uploading Data
Flow cytometry data should be uploaded as a collection of FCS files. There are two options for how the data can be formatted for upload:
- Use the sample IDs encoded in the FCS file names (e.g. SampleA.fcs), or
- Use a samplesheet CSV to specify the sample IDs for each FCS file.
Organizing Data with a Sample Sheet
The advantages of using a sample sheet when uploading data are:
- (a) the file names do not have to follow any of the patterns listed above,
- (b) additional sample metadata can be added en masse, and
- (c) reads from a single sample can be combined across multiple file pairs.
sample,file_1
SampleA,data_for_SampleA.fcs
SampleB,data_for_SampleB.fcs
Note:
- File names do not need to match any particular pattern
- Any additional metadata can be added as columns to the sample sheet. For example,
treatment,subject, or any other information can be included in columns to the right offilein the example above.
Analyze Control Beads
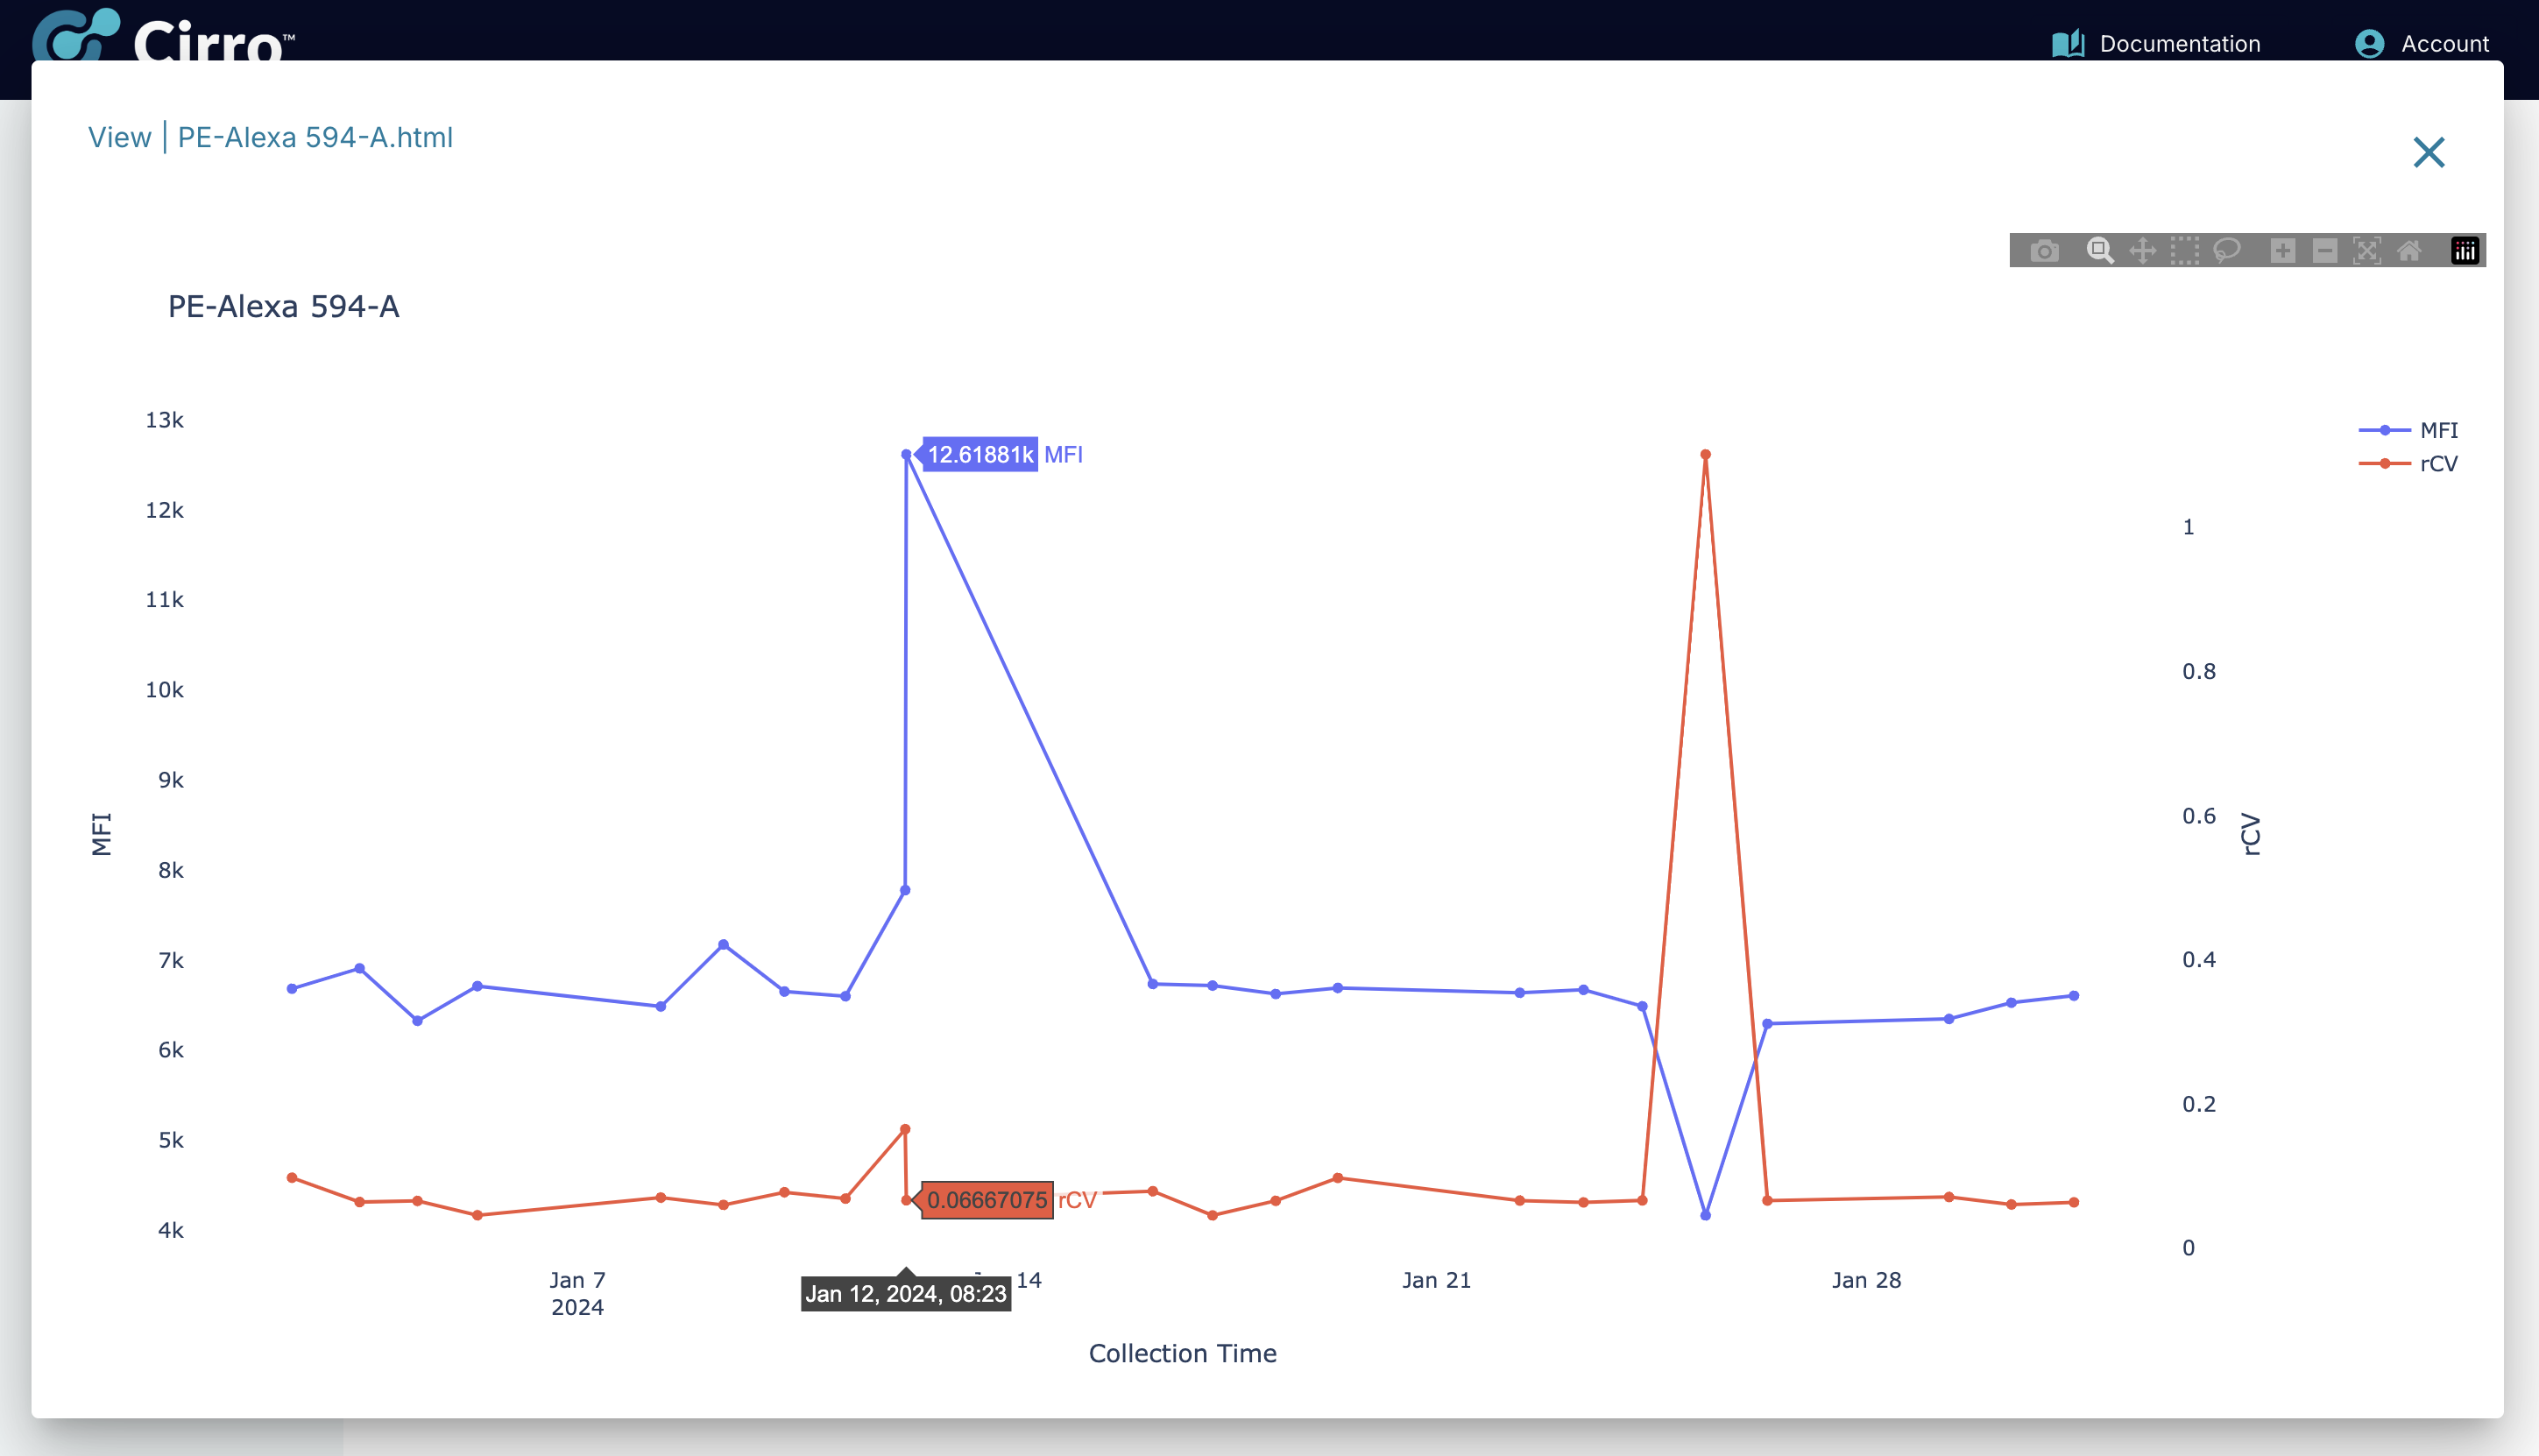
A common practice in flow cytometry is to perform calibration using a set of control beads which can be used to tune the instrument. Because these beads have a consistent fluorescence at all wavelengths, they can be used to compare the detection sensitivity across multiple analysis sessions.
This workflow can be used to compare the measurements from a set of beads which have been collected across multiple timepoints.
Measurements for each sample include:
- Instrument used and date/time of collection
- Number of beads
- Percentage of beads from the total population
- Mean Fluorescence Intensity (MFI) for all channels
- Robust Coefficient of Variation (rCV) for all channels
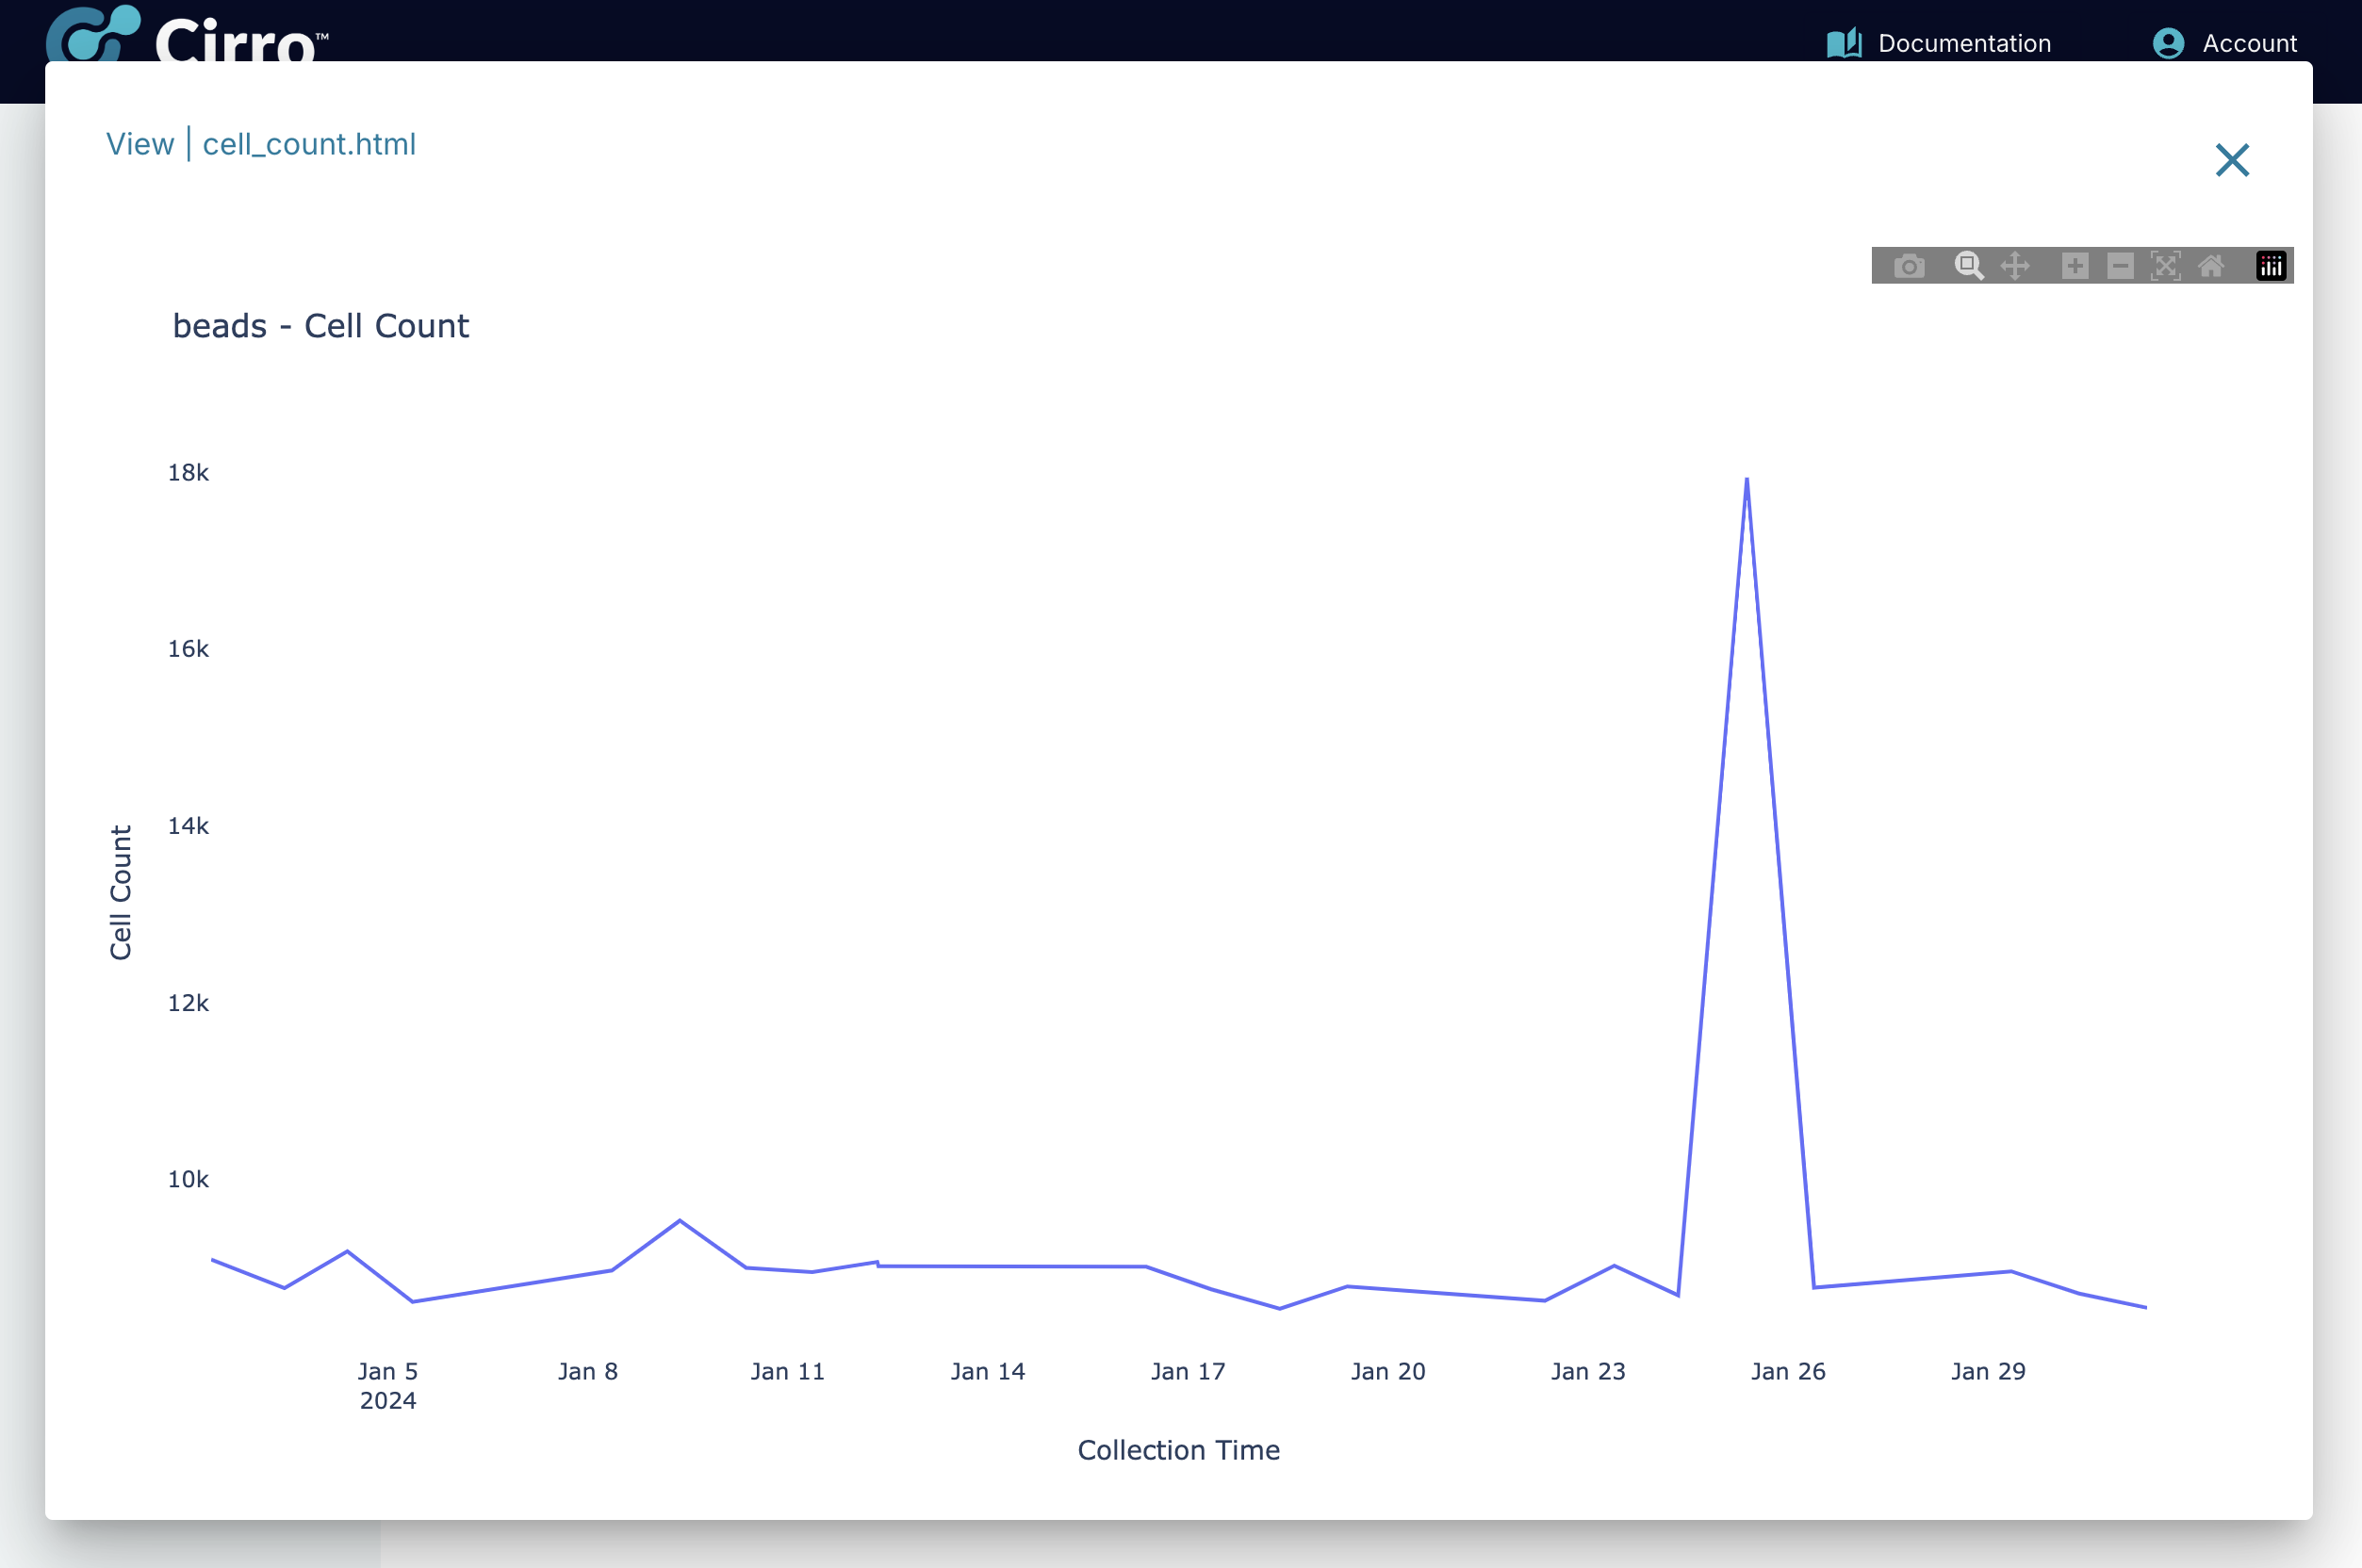
Number of Beads:
The number of beads measured at each timepoint is summarized for each instrument. The instrument name for each sample is determined using the metadata encoded in each FCS file at the time of collection.
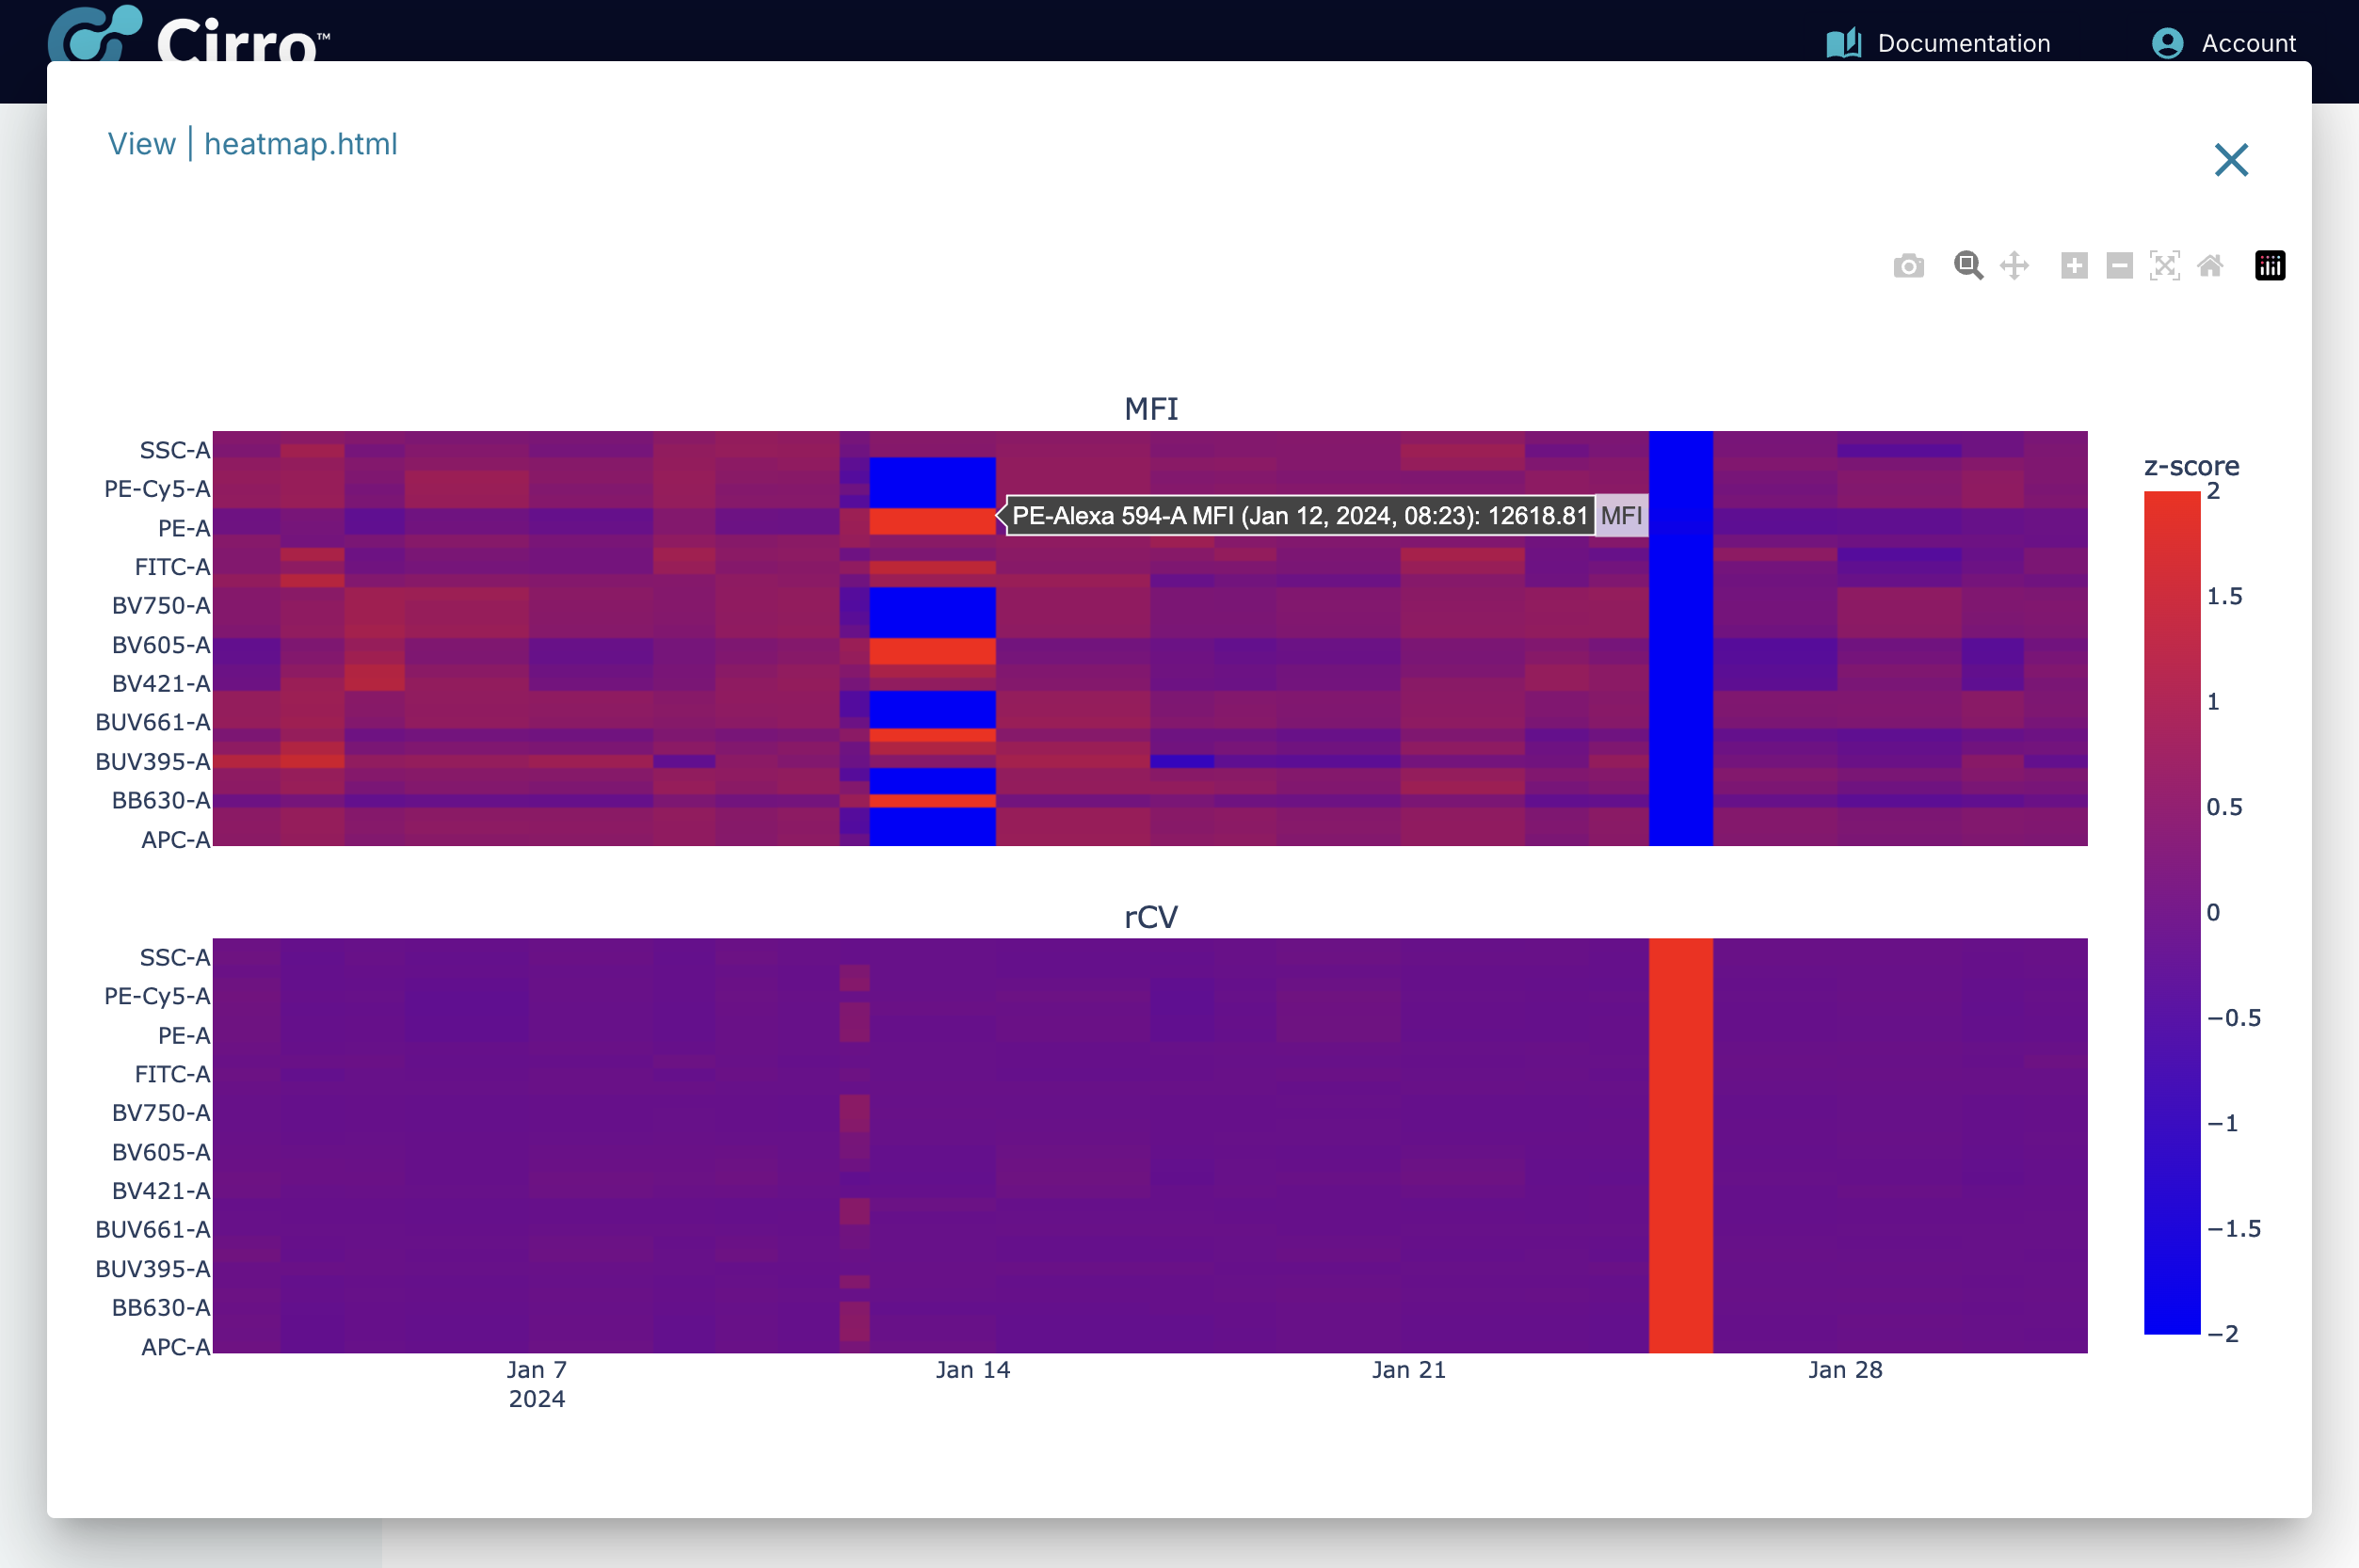
Overall Patterns of MFI & rCV:
To help quickly identify differences in MFI and rCV across all channels for all timepoints, a summary display is made available which shows a heatmap for both measurements. In the heatmap, the color is used to display the Z-score for each channel. The Z-score converts the values for each channel into the same range for the purpose of visual display - the mean value is 0 and each unit is a single standard deviation. The actual value can be seen by hovering the mouse over the heatmap.
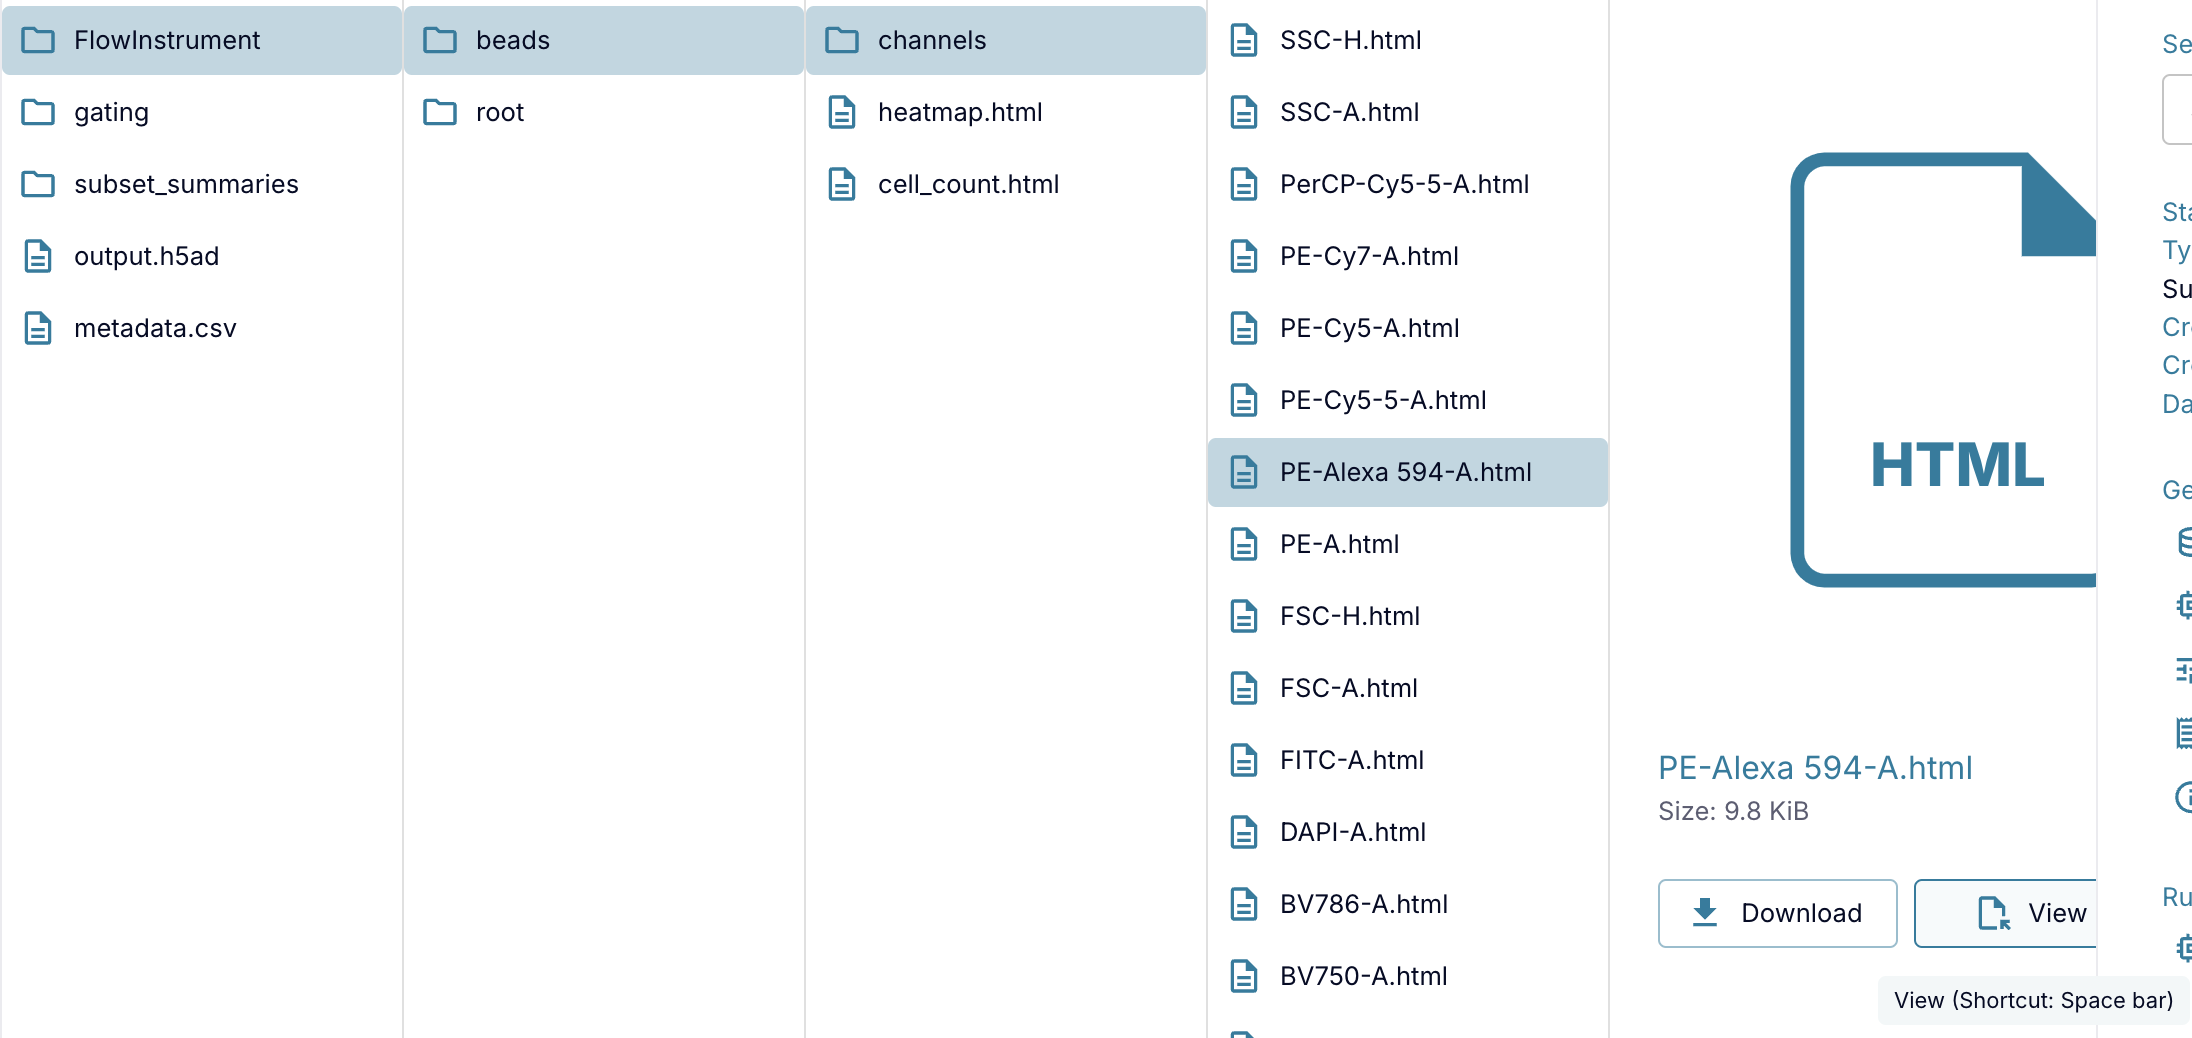
Channel Details:
Detailed information about each channel can be viewed in the channels/
folder.
Filtering Debris:
The beads are distinguished from non-beads (debris) by setting a rectangular gate around every channel. The width of the gate around the bead peak for each channel is defined in units of interquartile range (the distance from the 25th percentile to the 75th percentile). The default size of these gates is set to 4, meaning that only those cells which fall no more than 4 interquartile ranges from the median for all channels will be retained as beads.
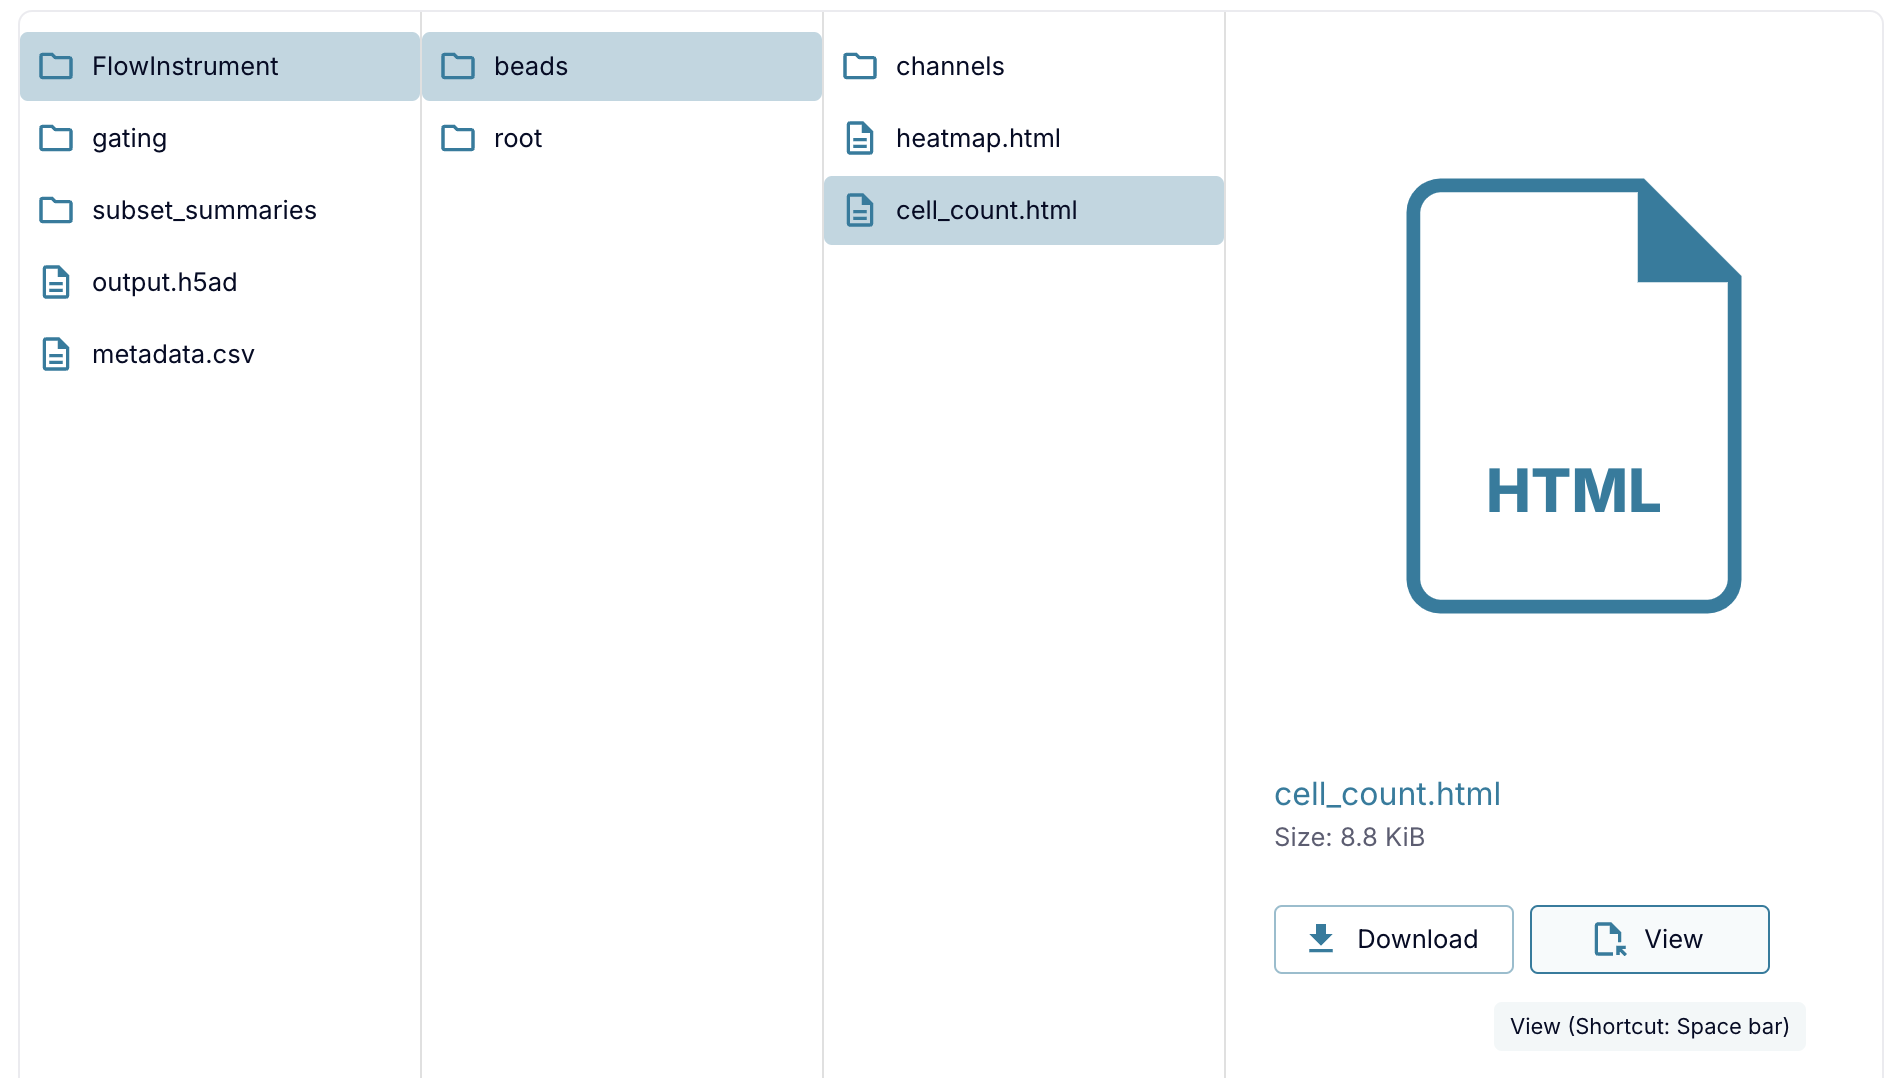
Complete Output Data:
In addition to the displays shown above, the complete data output for all samples may be found in:
metadata.csv: The metadata information recorded for each samplegating/count.csv: The number of beads detected (as well as the total input)gating/percent.csv: The percent of beads detected (out of the total input)subset_summaries/rCV.csv: The rCV value calculated for every channelsubset_summaries/MFI.csv: The MFI value calculated for every channel
Apply FlowJo Gates
After setting up a gating scheme in FlowJo, it can be helpful to apply those gates across a large collection of FCS files.
Adding Gates:
Before running the analysis, you will need to upload the FlowJo gates as a Reference. This makes it easy to apply the same set of gates across multiple batches of FCS files.
- Save the FlowJo workspace as a file with the
.wspextension - Upload that file to the Cirro References page
Running Analysis:
To apply the gating scheme to a batch of samples, first upload the input data in FCS format to Cirro. The analysis can be run on either (1) the complete batch of files (by default), or (2) you may select a subset of files to analyze.
Output Files:
Summary metrics will be provided in CSV format for both:
- The absolute number of cells from each file which were assigned to each population
- The percentage of cells which were assigned to each population (relative to its parent)
Citation:
- Finak, Greg et al. “CytoML for cross-platform cytometry data sharing.” Cytometry. Part A : the journal of the International Society for Analytical Cytology vol. 93,12 (2018): 1189-1196. doi:10.1002/cyto.a.23663
Automated Quality Control Analysis
To help provide an automated first-pass analysis of flow cytometry data, we have implemented a workflow which uses a set of open source tools for the unsupervised analysis of these datasets. While manual inspection of flow cytometry datasets is difficult to automate in a single solution, our hope is that this tool can be used to provide a quick look at the contents of a particular dataset.
Flow Cytometry QC Steps
The analysis steps performed by the QC workflow are as follows:
- flowClean: Automated identification and removal of fluorescence anomalies in flow cytometry data (ref);
- flowAI: Automatic and interactive anomaly discerning tools for flow cytometry data (ref);
- If spillover data is available, perform compensation with flowWorkspace (ref);
- If possible, perform logicle transform with flowCore (ref);
- Automatically identify groups of cell using FlowSOM (ref);
Note: If any of the methods in steps 1-4 can not be performed, that particular step will be skipped.
Output data will be provided for each individual step as FCS files. In addition, the complete set of measurements will be output in CSV format, including the number of cells from each sample which were assigned to a given cluster.