Project Overview
The Overview page for a project contains all the basic information on the selected project.
Project Tags
Projects can have tags attached to them that make them easier to organize and search. To add a tag to a project, click the "Edit Tags" button. This will open a pop up where you can enter new tags and remove existing tags.
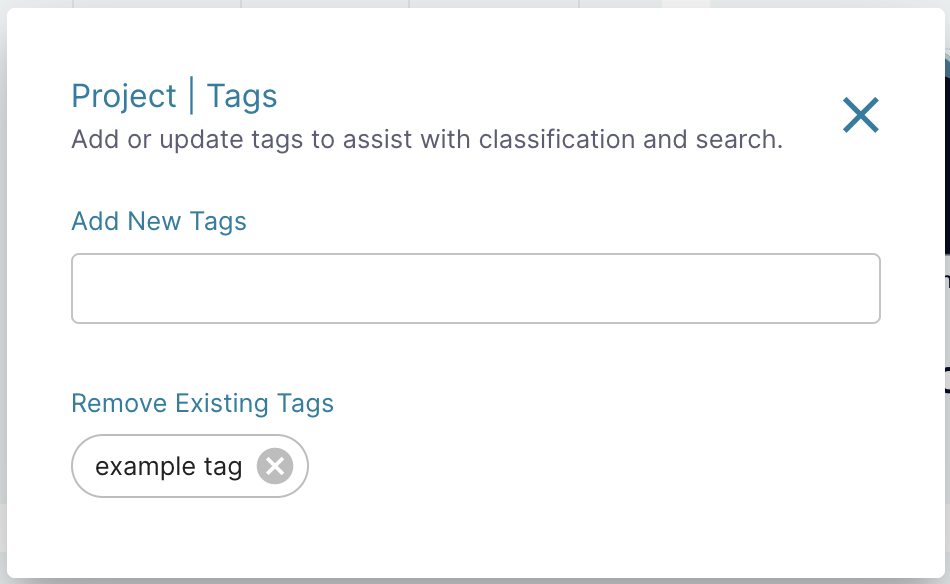
A project's tags are visible in the Overview section of the project's Overview page and also on the main Projects page, next to the project's name.
Data Classifications
Data classifications are labels that can be used to categorize similar projects. Examples of common classifications include "NIH funded" and "Internal data". Classifications can be used to apply governance requirements to only certain groups of projects.
Your project's data classifications can be found next to the project's tags on the project's Overview page and organization admins can edit a project's classifications using the "Edit Project" button.
Governance
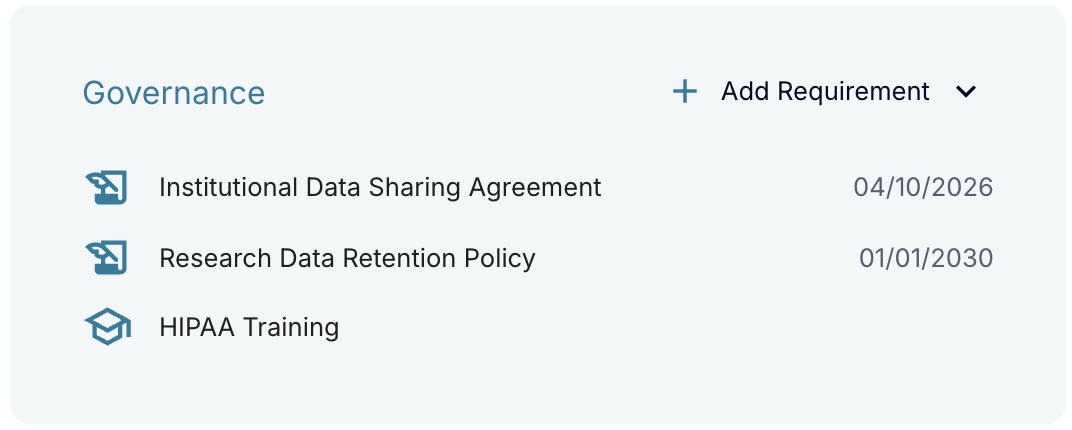
Organization's leaders and project administrators can set governance policy and training requirements for a project to prevent users from accessing data if they are not in compliance with institutional policies.
A governance section will appear on the project's Overview page if you have governance applied to the project, and contains a list of your completed requirements and their expiration dates (if they have one). Users can click on each requirement to view more details.
If an organization admin assigned a requirement to your project that requires project admins to upload a project-specific file, these requirements will be available under an "Action Required" header only visible to project admins. If these requirements are not configured before their enactment date (which can be found by clicking the requirement), access to the project will be restricted to all users until a file is uploaded. To configure a requirement, click on the requirement's name and use any of the contacts, documents, and/or links provided by orgnization administrators to create and upload a file.
Project administratos can also use the "Add Requirement" button in this section to create their own requirements to apply to their project. Learn more about setting agreements, documents, and trainings. To edit an project-scope requirement, click the requirement in the governance section and use the "Edit" button at the bottom of the pop up.
Project-scope requirements and organization-scope requirements with files uploaded by project admins, that have been created but are not eneacted yet will be available under a "Not Enacted" header only visible to project admins.
Project Charts
On this page you will find some charts to help understand the scope of the project. One is a bar chart that shows the top data types, top tags, and top contributors across all the datasets in the project, You can click the buttons below the plot to toggle between these options and you can click on any of the bars to be taken to the datasets page filtered on that selection.
Also on this page is a chart showing the costs of the project broken down into storage, infrastructure, compute, and notebook-related costs.
Editing a Project
At the top of the project's Overview page, you will see a button for "Edit Project" that opens a pop up. If you do not have permission to perform these operations, the button will not be available.

The "Edit Project" pop up contains the following entries:
- Project Name: A unique name for your project.
- Project Description: (Optional) A 1-2 sentence description of your project.
- Contact Name: The name of the person that will be contacted with any issues about that project.
- Contact Email: The email of your contact person.
- Contact Organization: The name of the organization associated with your contact person.
- Contact Phone: (Optional) The phone number of your contact person.
- Billing Account: Select the billing account you want to charge for costs incurred in the project (e.g. data storage and running pipelines).
- Budget Amount: When the project's total cost for the selected billing period (e.g. per month, per quarter, per year) approaches this amount, the project's contact person will receive emails. When this amount is reached, any pipelines and notebooks will be cut off and the data files will be saved.
- Budget Period: The time period you want associated with your budget amount. This can be monthly, quarterly, or annually.
- Allow users in your Cirro organization to search for your project: Check to allow users who are part of your greater Cirro organization, but not part of your project, to view your project name in order to send an access request or send a dataset share.
- Allow datasets in this project to be shared: Check to allow project admins to share datasets in your project with other projects. All projects can accept shares from other projects regardless of this setting.
- Service Connections: Which of your organization's shared services are connected to this project.
- Deleted Dataset Retention: The number of days to keep deleted datasets before being permanently erased.
- Temporary Storage Lifetime (days): The number of days to keep temporary storage space (e.g. workflow executor cache) before being erased. The default for new projects is 14 days.
- Maximum number of vCPUs for Spot Instances: The maximum number of compute cores you can launch at once for pipelines when you're doing batch processing. The nodes with these compute cores will not have GPUs available. 300 is a reasonable value for most projects, but if you want to run highly parallelized work you may want to add more. Feel free to contact the Cirro team with questions.
- Maximum number of vCPUs for GPU-enabled Instances: The maximum number of compute cores you can launch at once using nodes which also have GPUs available. The default for new projects is set to 0. Note that increasing this value for the first time in a project may take 1-2 business days as AWS reviews the required quota increase request.
- Maximum number of vCPUs for FPGA-enabled Instances: The maximum number of compute cores you can launch at once for Field-Programmable Gate Array (FPGA) enabled instances. The default value for new projects is 0.
- Account Type: Whether the AWS account connected to this project is created and hosted by Cirro or if Cirro uses a separate, pre-existing AWS account. This decision cannot be changed once the project is created. View our installation guide if you decide to use your own AWS account.
- Data Classification: Select any pre-defined data classifications that apply to the project's data, which can then be used to set governance requirements. Only organization admins are able to edit these classifications.
Along with the following action buttons:
- AWS Jobs Info: View information on the project's job queues in AWS.
- Compute Environments: View compute environments that the project can use when running pipelines. Organization-level administrators, can add or edit environments by choosing the agent, a name for the environment, and any environment variables that will be provided to the job at runtime.
- Governance Summary: View any files uploaded by the project in order to configure requirements that are defined by organization administrators and currently enacted.
- Redeploy Project: Re-deploy the project's AWS resources.
Deleting a Project
To delete a project, contact the Cirro team.